本篇介绍如何在没有图形界面的Linux服务器上安装Cloudflare WARP并完成客户端注册
OS:CentOS8
# Add cloudflare-warp.repo to /etc/yum.repos.d/
curl -fsSl https://pkg.cloudflareclient.com/cloudflare-warp-ascii.repo | sudo tee /etc/yum.repos.d/cloudflare-warp.repo
# Update repo
sudo yum update
# Install
sudo yum install cloudflare-warp
Initial Connection
To connect for the very first time:
# warp-cli registration new.
If you want to customize the service node, change the following configuration
warp-cli dns endpoint set x.x.x.x
warp-cli api endpoint set x.x.x.x
warp-cli tunnel endpoint set x.x.x.x:2408
Go to https://<team>.cloudflareaccess.com/warp and authenticate.
On the ‘Success’ page in the browser, right click and ‘Inspect’ the blue ‘Open Cloudflare WARP’ button.
Copy the long token that’s shown linked to the button, and then type the following into a command prompt on the remote server:
# warp-cli token https://<team>.cloudflareaccess.com/auth?token=<token you copied>.
# warp-cli registration token https://xxxx
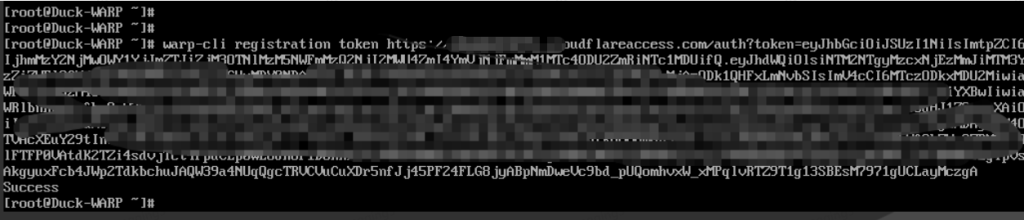
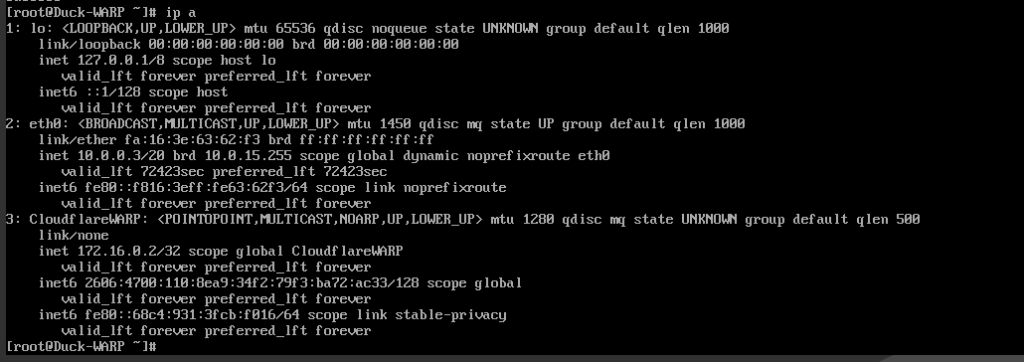
# warp-cli connect


文章有(1)条网友点评
您好,这是一条评论。若需要审核、编辑或删除评论,请访问仪表盘的评论界面。评论者头像来自 Gravatar。